
Creating Custom Handles On Your Tenkara Rod
Yoshikazu Fujioka likes his own grip too. He strips the handles of his rods and crafts his own.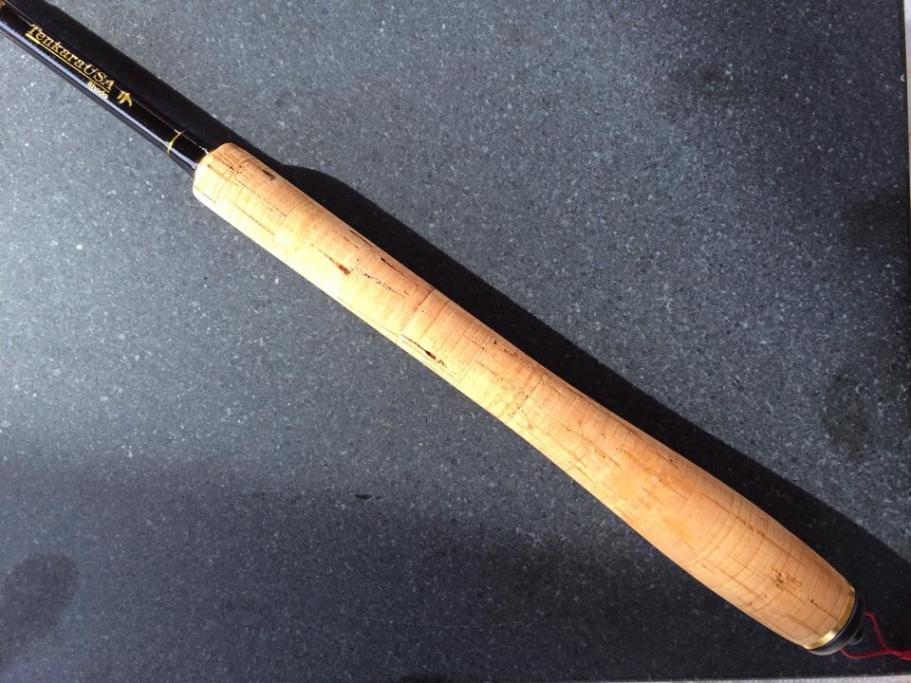
Most Tenkara rods that I own get some sort of treatment from me; I re-shaped my Rhodo grip.
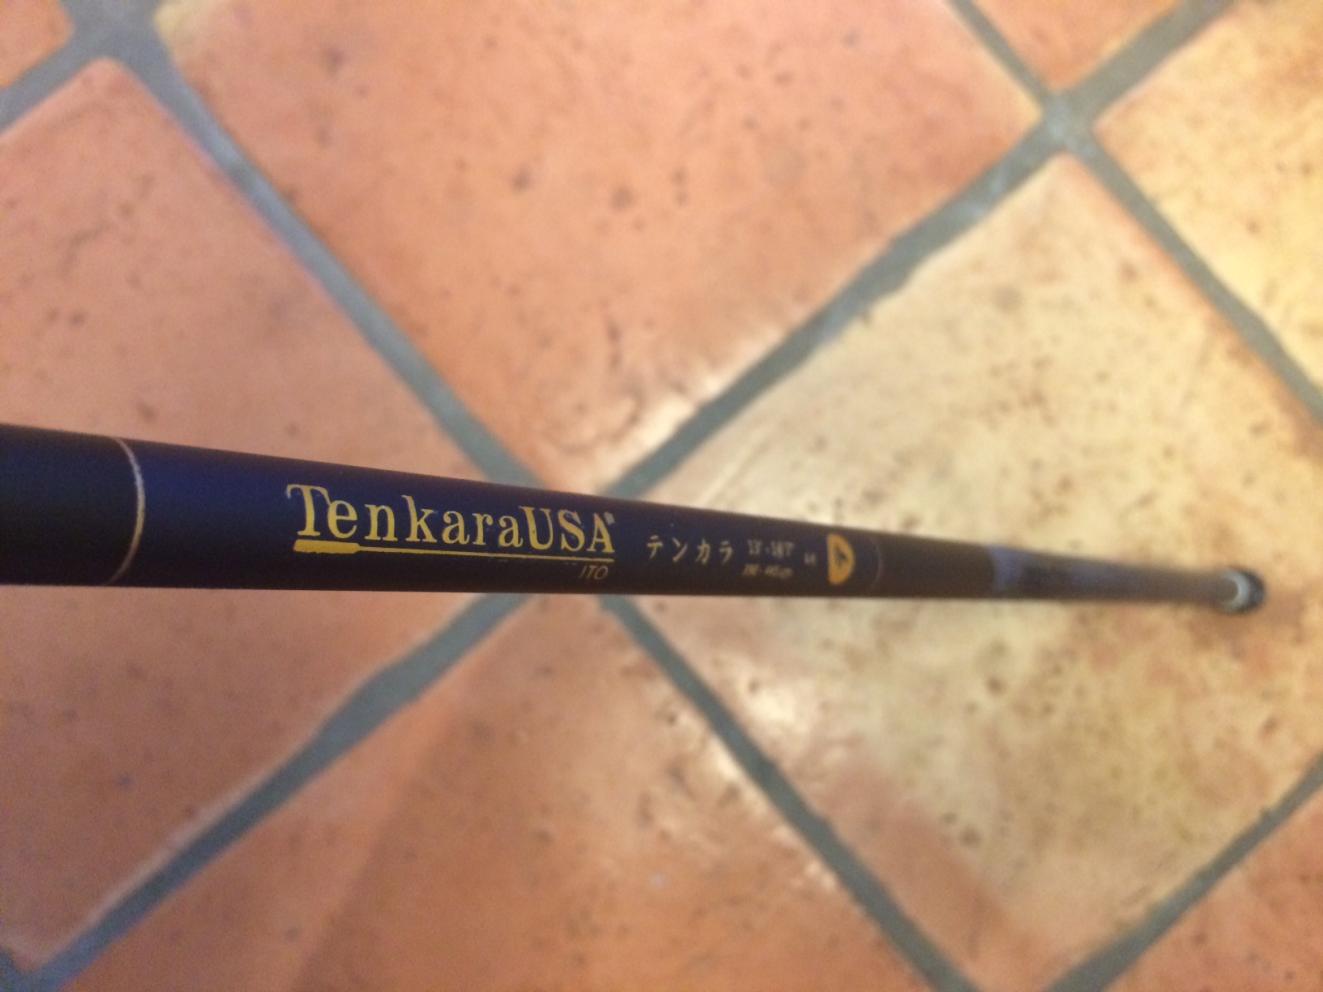
The first step on my Ito is done. I have removed the cork off the blank and now I am about to build the new grip.
There is a couple of handle options that I like to craft, cork and bamboo. In this article, I will go over some notes for each.

Cork: I sourced Flor grade cork rings on eBay, $35 for 30 each, enough for one grip with some extra to cull. This seems very expensive but the quality of cork is much better and you get to choose what rings go into the making of your handle.
Here, I will detail a few of the steps in the process of creating my new handle.
--------------------
I do enjoy the handle on the Ito, it reminds me of some classic fly rod handles that I like. The Ito is a rod that I will use for my Tenkara style and I’ve decided to change the handle shape to fit my own idea of a grip.
The first thing I needed to do was to remove the old handle.
I started with a old style thin razor blade, cut it in half, wrap a little tape around half of the half and worked away the thread wrap by sliding the blade along the epoxy in front of the hosel. Sliding the blade along the blank into the epoxy thread wrap cleanly takes off the thread wrap without biting into the blank. The key is the thin razor blade.
After that, I took my sharp pocket knife and started taking little bites out of the cork right behind the hosel, cutting into the cork and then prying the piece of cork off of the blank. By using a spiral approach at cutting into the cork without going all the way into the blank, I was able to carefully take the cork off of the handle in about 20 minutes.
Once the cork was off the handle, I took a razor knife and began to shave off the excess glue and cork that was bonded to the blank. The blank now is devoid of nearly all the cork and glue, take sandpaper loaded on a T-bar or block and lightly sand off the glue and epoxy down on the blank. Do not sand into the fibers, just down past the epoxy and the blank paint. I use 200grit and leave it rough in order for the cork ring epoxy to have a good surface to bond to.
When I was making bamboo rods, I was buying cork rings in bulk and I would pick out and group cork rings by quality. Now that I am building rods vs. making bamboo rods from raw materials, I don’t have the need to have large quantities of cork rings so I buy them in small lots from eBay. I buy a batch of rings, the number just slightly larger than the handle and pick out the best two rings and use the best side of those two rings for the ends of the handle.
Sorting cork is done by taking each cork and picking the WORST side up, that way it is easier to know which rings are the best quickly. Cull the two best rings for the ends and then the number of rings for your handle and put them aside after stacking them in the order on the handle.

Filing the rings to fit is a slow, methodical skill. You have to turn the ring keeping the hole you are grinding centered on the ring. You can make a hole bigger but you can't get a tight to the blank cork handle by being sloppy.
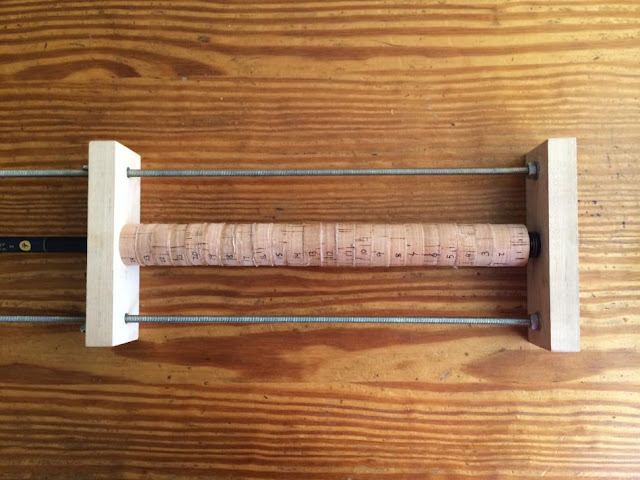
Getting closer, the rings are fitted to the handle tight, meaning, they are snug. I'll dig out the cork ring clamp next, make sure I have enough epoxy and draw a line on the cork and number the rings in case the cat decides he wants in on it.
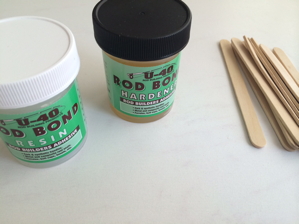
Fresh epoxy, grooved the rings on one side to "grip" the epoxy/ring bond to the blank. Epoxy and stacked the numbered rings and in the clamp.
Now I'll wait for the epoxy to set up hard and then show you how I shape the handle with a belt sander. It's a nice trick to get the exact size of grip handle you want.
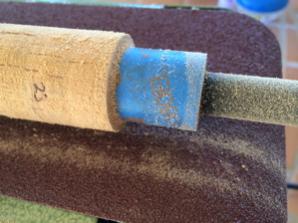
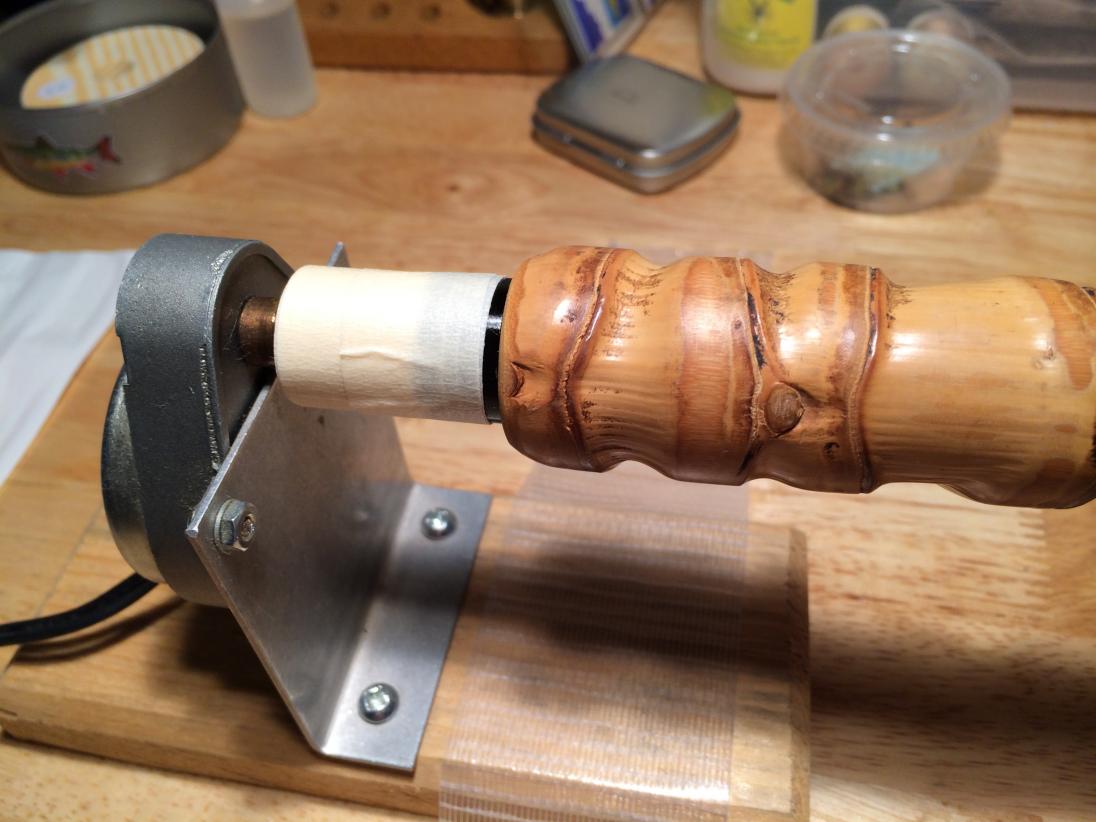
Find a handle size you like, check the diameter with a caliper, I like a .925" Take some blue masking tape and wind around the blank and on the butt section. The cork will stick up beyond this diameter.
Then take the cork handle on a belt sander and rotate it until you start to barely bump the masking tape size. The belt sander will eat into the cork very quickly, you will need a deft touch and eyeball the line to keep it level when rotating. Although it sounds too complex for a beginner, it isn't. No one taught me, this is a method that I have adapted. You could also do this with a block sander although it would take you an afternoon of sanding.

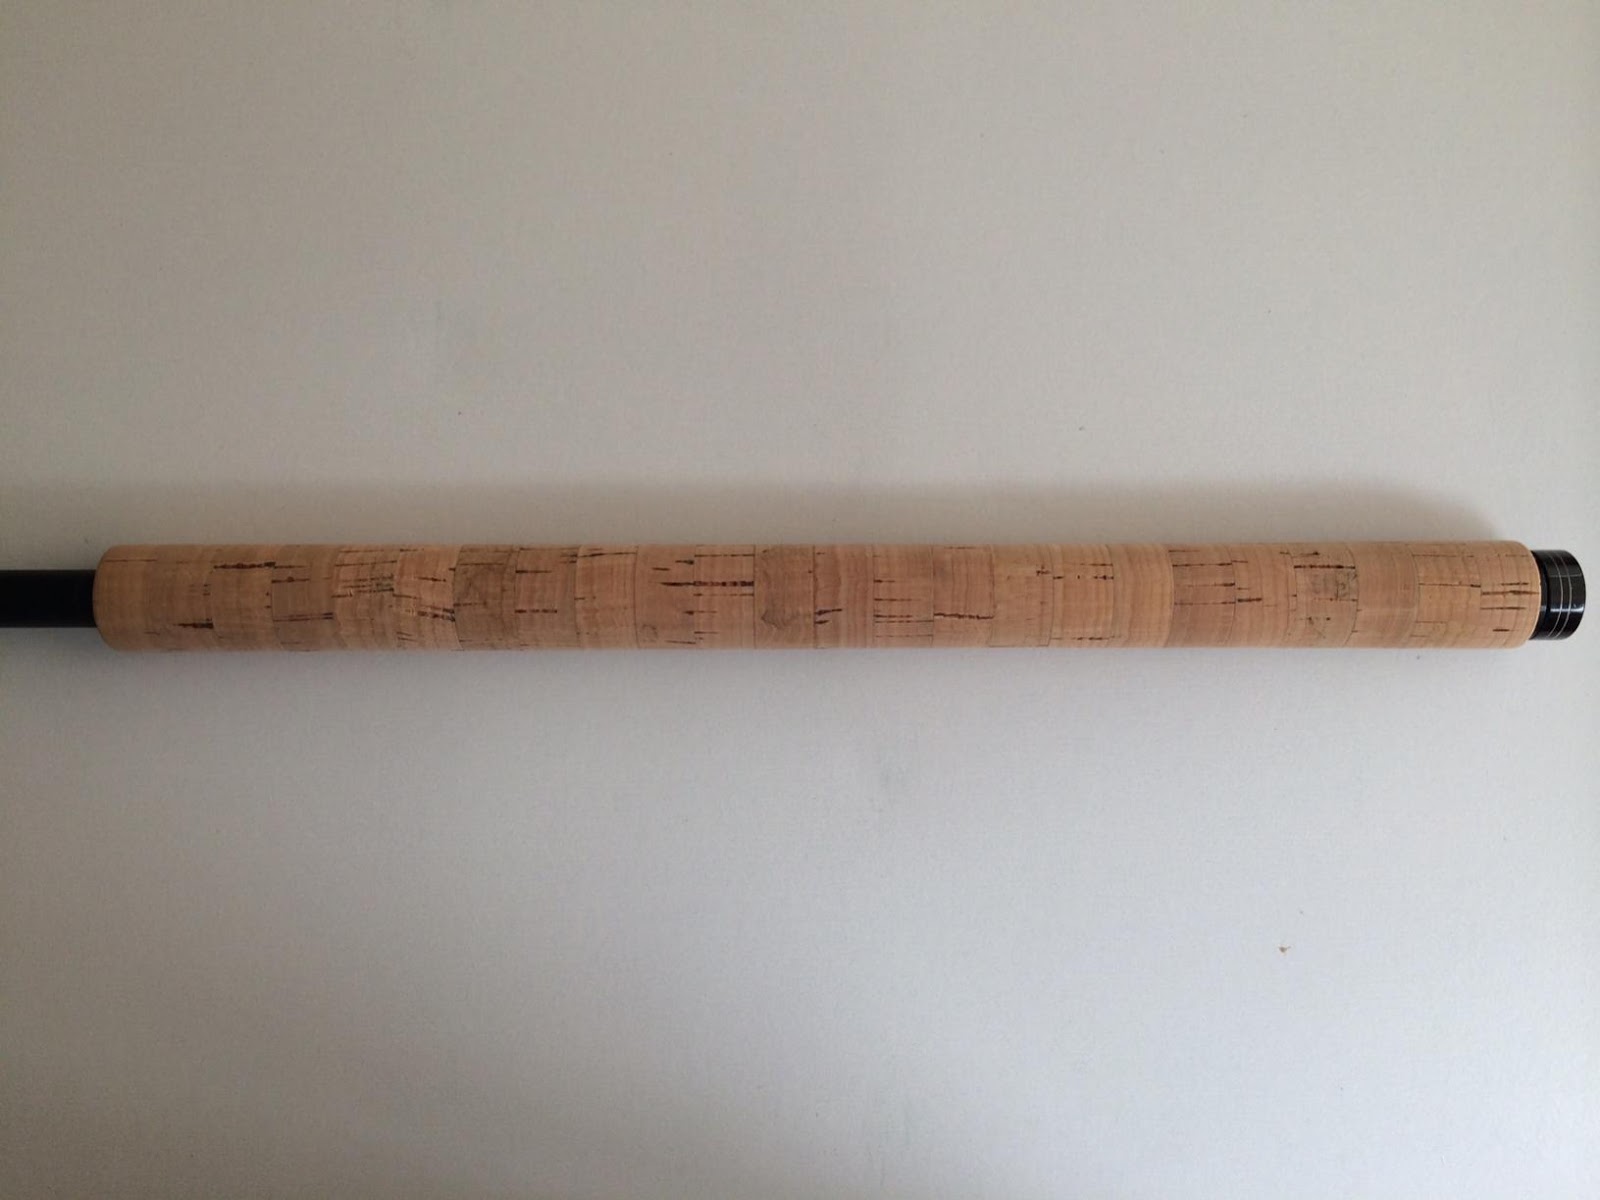
The handle shape is now finished. All that is left to do is to take down the surface from the 80 grit of the belt to 120, 200 and 400 grit. I'll then take 200 grit and slightly round the edges on front and a little more on the back.
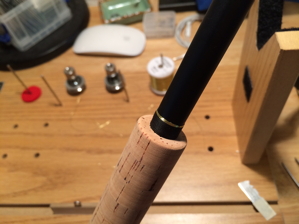
Final phase will be a wrap with silk thread and metallic thread tipping with flex coat for the final touch.
The thread work went well, the metallic thread was difficult as it does not grip the blank very well with only a few wraps.

Flex Coat applied, looks great.
I'm pleased.
After that, I took my sharp pocket knife and started taking little bites out of the cork right behind the hosel, cutting into the cork and then prying the piece of cork off of the blank. By using a spiral approach at cutting into the cork without going all the way into the blank, I was able to carefully take the cork off of the handle in about 20 minutes.
Once the cork was off the handle, I took a razor knife and began to shave off the excess glue and cork that was bonded to the blank. The blank now is devoid of nearly all the cork and glue, take sandpaper loaded on a T-bar or block and lightly sand off the glue and epoxy down on the blank. Do not sand into the fibers, just down past the epoxy and the blank paint. I use 200grit and leave it rough in order for the cork ring epoxy to have a good surface to bond to.
When I was making bamboo rods, I was buying cork rings in bulk and I would pick out and group cork rings by quality. Now that I am building rods vs. making bamboo rods from raw materials, I don’t have the need to have large quantities of cork rings so I buy them in small lots from eBay. I buy a batch of rings, the number just slightly larger than the handle and pick out the best two rings and use the best side of those two rings for the ends of the handle.
Sorting cork is done by taking each cork and picking the WORST side up, that way it is easier to know which rings are the best quickly. Cull the two best rings for the ends and then the number of rings for your handle and put them aside after stacking them in the order on the handle.

Filing the rings to fit is a slow, methodical skill. You have to turn the ring keeping the hole you are grinding centered on the ring. You can make a hole bigger but you can't get a tight to the blank cork handle by being sloppy.

Getting closer, the rings are fitted to the handle tight, meaning, they are snug. I'll dig out the cork ring clamp next, make sure I have enough epoxy and draw a line on the cork and number the rings in case the cat decides he wants in on it.

Fresh epoxy, grooved the rings on one side to "grip" the epoxy/ring bond to the blank. Epoxy and stacked the numbered rings and in the clamp.
Now I'll wait for the epoxy to set up hard and then show you how I shape the handle with a belt sander. It's a nice trick to get the exact size of grip handle you want.

Find a handle size you like, check the diameter with a caliper, I like a .925" Take some blue masking tape and wind around the blank and on the butt section. The cork will stick up beyond this diameter.
Then take the cork handle on a belt sander and rotate it until you start to barely bump the masking tape size. The belt sander will eat into the cork very quickly, you will need a deft touch and eyeball the line to keep it level when rotating. Although it sounds too complex for a beginner, it isn't. No one taught me, this is a method that I have adapted. You could also do this with a block sander although it would take you an afternoon of sanding.

The handle shape is now finished. All that is left to do is to take down the surface from the 80 grit of the belt to 120, 200 and 400 grit. I'll then take 200 grit and slightly round the edges on front and a little more on the back.

Final phase will be a wrap with silk thread and metallic thread tipping with flex coat for the final touch.
The thread work went well, the metallic thread was difficult as it does not grip the blank very well with only a few wraps.

Flex Coat applied, looks great.
I'm pleased.
--------------------


Hotei Handle


Resources
flexcoat.com: cork ring clamp, rod turner, rod wrapper, wrap expoxy
custom rod decals (Hanko)