
 |
| My line spool, from Sansui in Tokyo, #3.5 5.5m, 70cm #3 clear tip to tippet ring. |
In designing a level line for my rod, I have quite a bit of experience behind me researching all the different tenkara "schools" in Japan. After a lot of experimentation, I landed in the level line camp and have been designing lines for all my tenkara rods this way. I think it will be fun to look back where I have been to get to where I am at in my craft.
In 2009, Daniel Galhardo started his company, Tenkara USA and I gave him a call and we decided on a rod for me. He told me which lines he sold and we decided on a furled taper line which I initially used but really didn't like it. Chris Stewart (of TenkaraBum) was selling custom lines for Tenkara USA rods and I bought a couple, I think it was my first level line. I gave those level lines a workout but it was so strange compared to a fly rod, I could not feel the rod load and I much preferred my cut 00-weight fly line. I used my floating fly line for the first year until I found out about the Japanese and their rich history of tenkara. I approached Sakura and they made me the North American distributor. I started fishing their unique braided tapered lines matched with the Seki Rei and Kongo.
My interest in researching Japanese tenkara all types of lines took me to the different schools. I immediately took to the school of Kazuya Shimoda and his cut floating fly lines. He had many videos and Shimoda san is one of the heavy influencers of my early tenkara. Continuing my search, I started conversing with Eiji Yamakawa and he introduced me to the multi-strand custom made tenkara lines that were from the school of Hiromichi Fuji.
I built a line furling machine and began to construct my own custom made step down taper tenkara lines. More often than not, the type of line used was what differentiated the teachers. Tenkara anglers outside of Japan by and large are not aware that within Japan, there was so many different types of lines used.
 |
My first custom tenkara line, a 00-weight fly line back end cut to length
|
In 2009, Daniel Galhardo started his company, Tenkara USA and I gave him a call and we decided on a rod for me. He told me which lines he sold and we decided on a furled taper line which I initially used but really didn't like it. Chris Stewart (of TenkaraBum) was selling custom lines for Tenkara USA rods and I bought a couple, I think it was my first level line. I gave those level lines a workout but it was so strange compared to a fly rod, I could not feel the rod load and I much preferred my cut 00-weight fly line. I used my floating fly line for the first year until I found out about the Japanese and their rich history of tenkara. I approached Sakura and they made me the North American distributor. I started fishing their unique braided tapered lines matched with the Seki Rei and Kongo.
 |
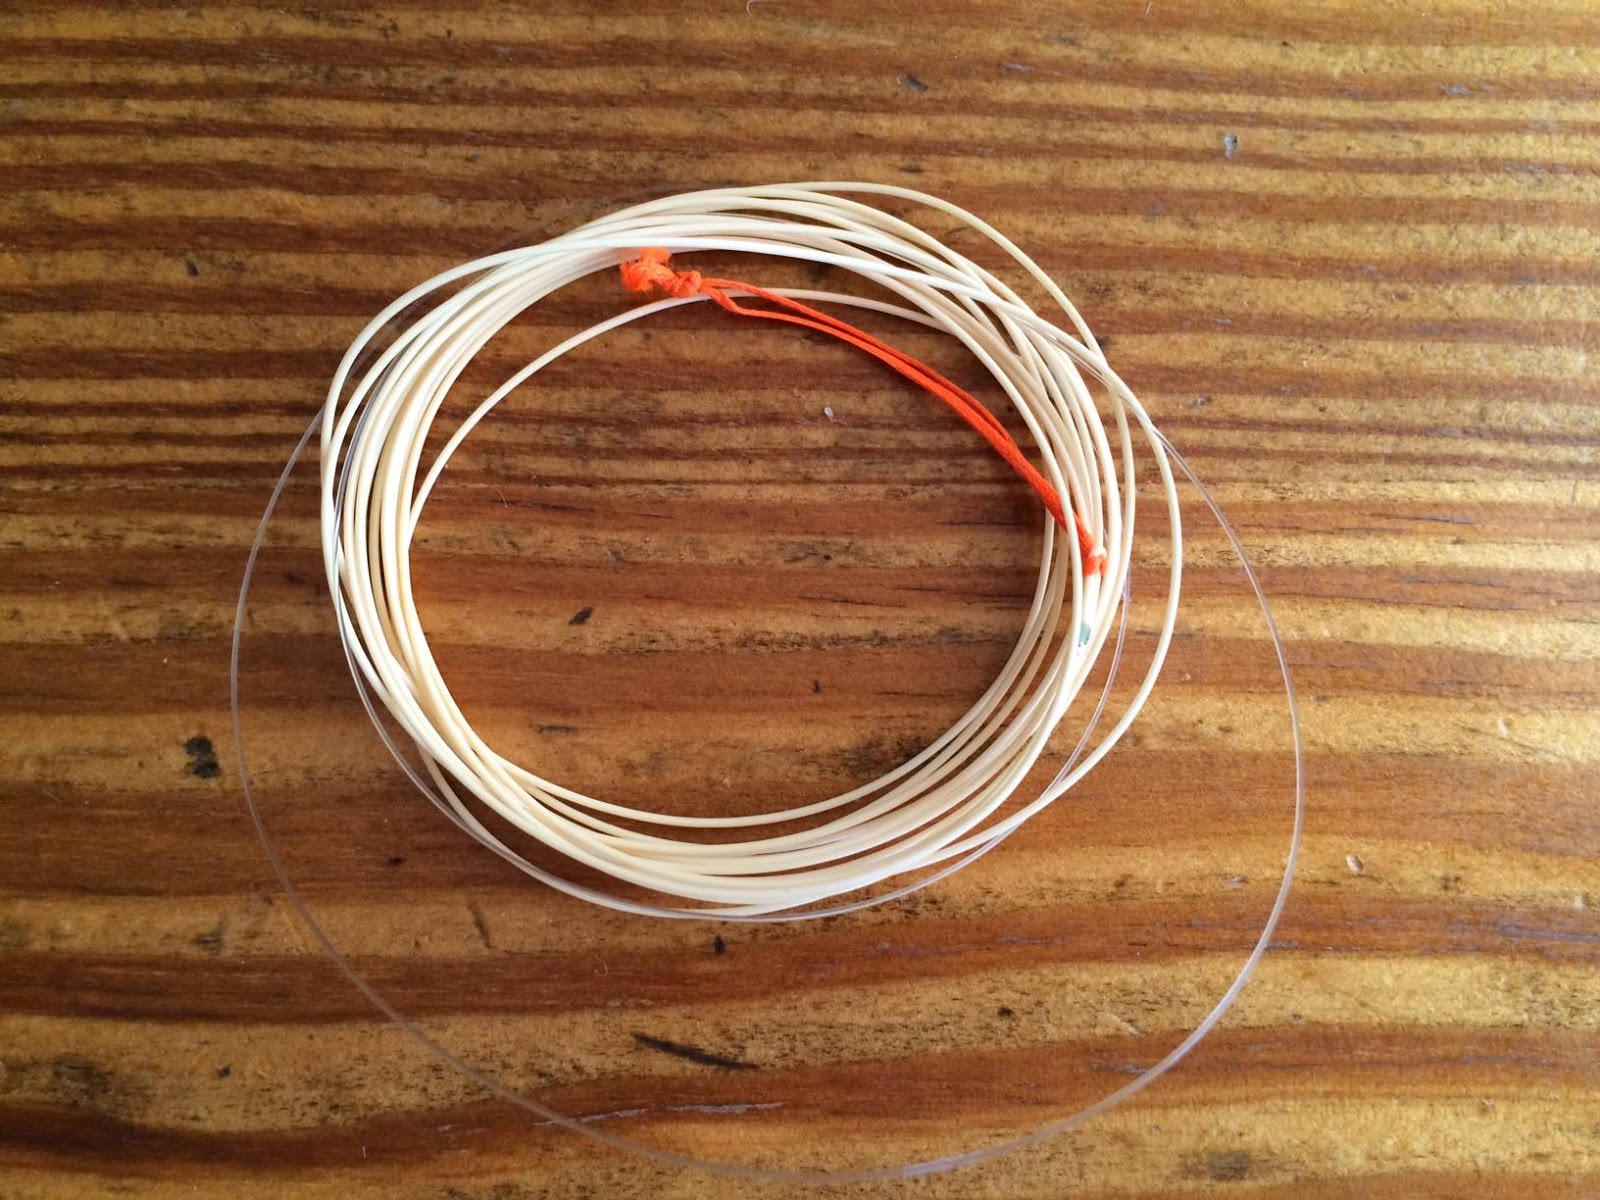
| Various furled and braided tapered lines |
My interest in researching Japanese tenkara all types of lines took me to the different schools. I immediately took to the school of Kazuya Shimoda and his cut floating fly lines. He had many videos and Shimoda san is one of the heavy influencers of my early tenkara. Continuing my search, I started conversing with Eiji Yamakawa and he introduced me to the multi-strand custom made tenkara lines that were from the school of Hiromichi Fuji.
I built a line furling machine and began to construct my own custom made step down taper tenkara lines. More often than not, the type of line used was what differentiated the teachers. Tenkara anglers outside of Japan by and large are not aware that within Japan, there was so many different types of lines used.
Further into my interests, I learned about Hisao Ishigaki and his tenkara; he was teaching by using a level line for his style of tenkara. His approach to using the attributes of a tenkara rod for casting a fly/kebari was more to my style. It took me time to be able to feel the rod load with a light level line, I was so used to a heavier fly line but after a few weeks, I really liked it. And besides, you can quickly make a level line and be fishing in a few minutes, it takes very little rigging.
 |
| Multi strand furled lines from Yuzo Sebata and Eiji Yamakawa's Hiromichi Fuji style lines |
It was a complete education in learning all the different lines used in Japan. More often than not, the type of line was all that differentiated the tenkara angler. Much of my Japanese tenkara library had dedicated sections on "how to make" your own custom lines. My favorite Japanese author, Soseki Yamamoto introduced me to a young Yuzo Sebata and the custom multi strand lines that he made and used in his area. Later, I was introduced to Sebata-san by Keiichi Okushi and even Okushi san had his own tenkara line secret.
At the time of my second visit to Japan in 2016, I had settled on to a level line configuration that had all the qualities that I wanted. I took those lines to Japan where several experts checked out my rod and line combination to their approval, "Adam san, this is a nicely balanced system." I developed my lines to what I wanted in my fishing. The Japanese didn't configure or use some of the materials that I used. In comparison, my fish count was in line with what they were doing in thin, clear and difficult streams.
I will share with you, the method that I use to create my own level type.
I will share with you, the method that I use to create my own level type.
Level lines promote the attributes of a tenkara rod. Attributes being the ability to cast a very light line which is a plus for a stealthy presentation. A light line will not splash, if presented correctly, only the fly will light on the water surface or punch through the meniscus. There is no line slapping on the water running towards the fly to announce it's presence. When cast at distance, a light level line will allow very little "drape" or sag. When you can not see the fish take the fly/kebari, the line becomes an indicator and telegraphs the feel to the angler. The line is important to the system and should be created with assisting you in catching fish, not just to deliver the fly/kebari.
There are a few terms and line types that you should know when you are making a line or talking about them with your friends.
The lillian is the little hollow braided string on the tip of the tenkara rod.
A slip knot is used on a level line to attach to the lillian. The lillian wrapping through the slip knot loop twice before tightening.
To join the mainline to the smaller tip section, I use a surgeons knot. It is excellent when tying two sections of line together if they are not equal in size.
The level portion of the line from the slip knot to the stopper knot or tippet ring is called the "mainline."
A stopper knot is often used to prevent the tippet from slipping off the mainline or the tip section of a level line.
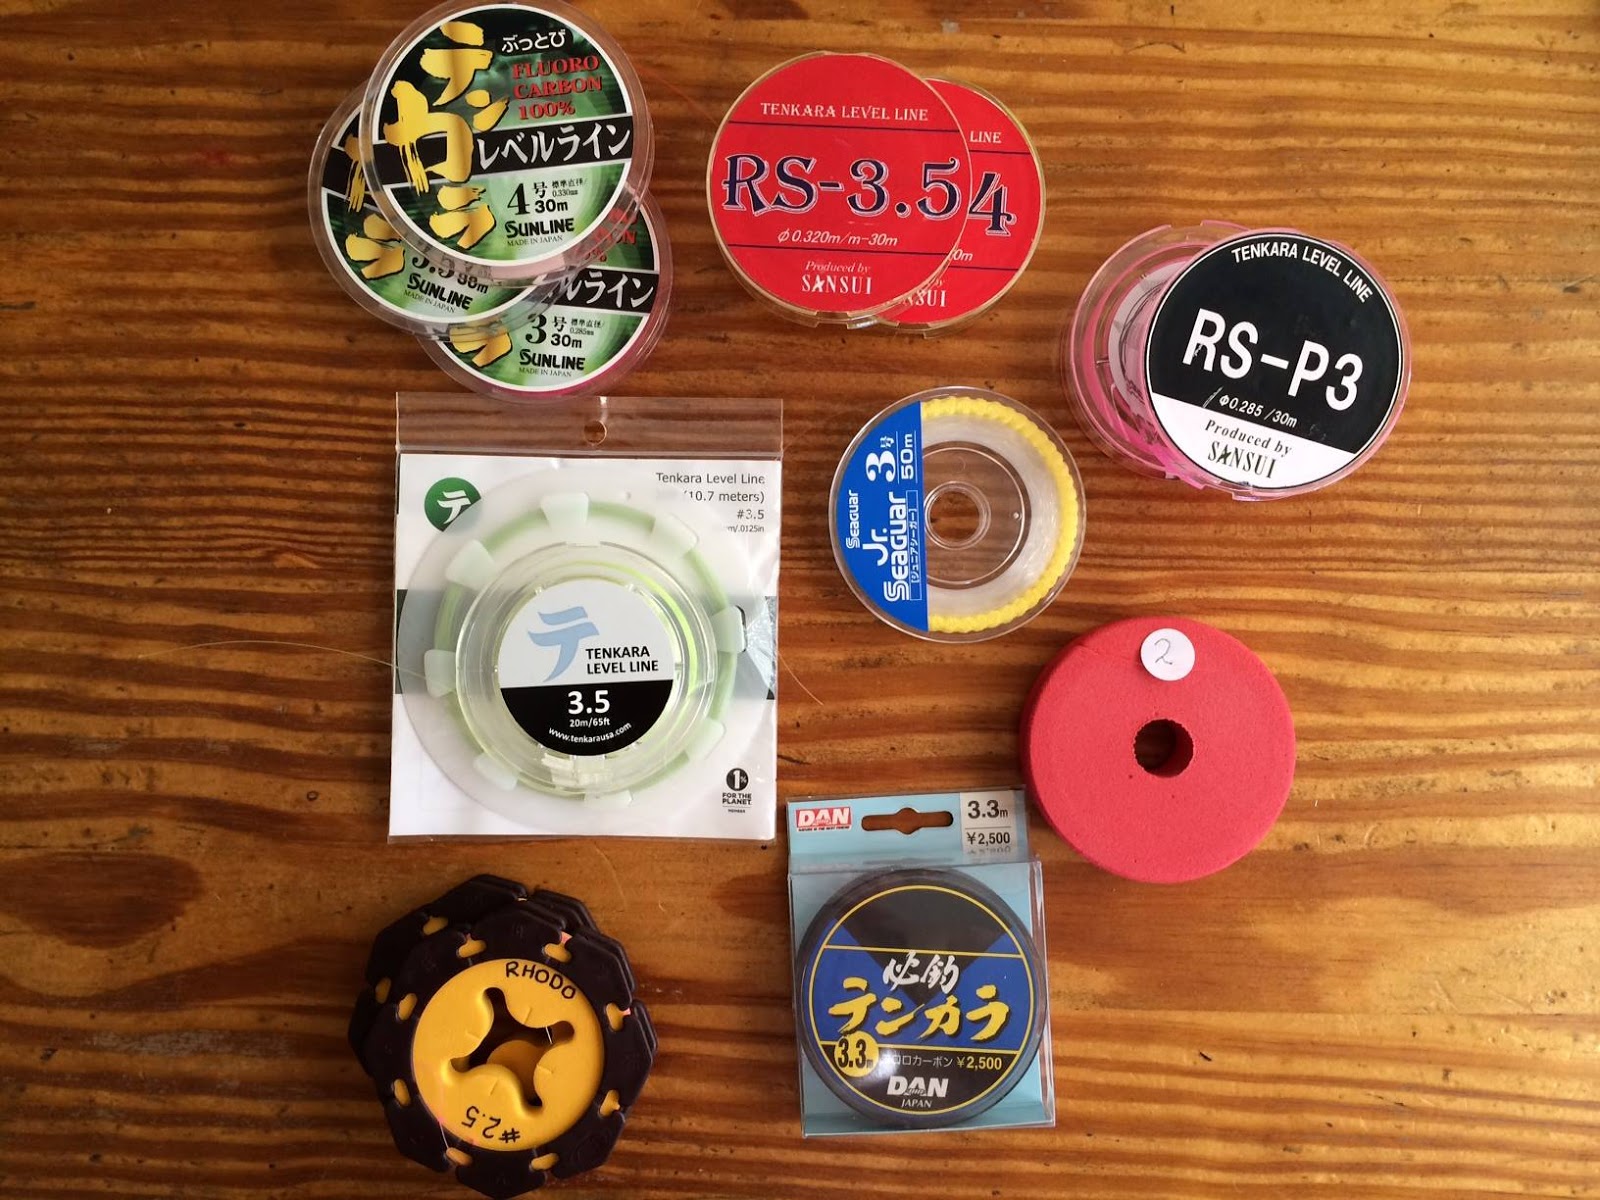
There are many types of line you can use when configuring a level line.
Nylon lines are typically lighter in mass. Given the same size, nylon will present more surface area when casting and in wind. Nylon has a little more elasticity and generally floats. Clear Nylon has a higher refractive light index but it is still nearly invisible in water.
Fluorocarbon lines are heavier in mass and sink. Smaller lines can be used and presents a smaller surface area when casting and in wind. Fluorocarbon does stretch but has less elasticity and will sink slowly. Clear Fluorocarbon has a refractive light index that is closer to water rendering it close to invisible.
Braided level lines are multi-strand lines made of various materials such as dacron, kevlar and spectra. The properties of this line are all typically heavier, larger in diameter, present more surface area when casting and in wind, soak up water and become heavier, less stealthy and are more visible.
Because the level line is so small, it is easier to see when the line is colored, there are many colors to choose from when configuring a line.
I've used pink, green, orange, yellow and clear. I often fish in lush alpine streams that are low light with green foliage along the stream. A pink line is my preference for ease of seeing the line. I have also read studies that pink is a color that fades out first in water. A pink line is easy to see in low light and after using many colors, it is the color of my choice. Orange also works nicely but it is my second choice. For honryu tenkara, I choose a clear fluorocarbon for the full length of my line due to the rivers I fish are ultra clear and any odd color or color movement will distract the fish from feeding. I do not choose clear for tenkara because much of my fishing is by sight, for honryu, my fishing is primarily by feel.
The design of my level line.
There are a few terms and line types that you should know when you are making a line or talking about them with your friends.
The lillian is the little hollow braided string on the tip of the tenkara rod.
A slip knot is used on a level line to attach to the lillian. The lillian wrapping through the slip knot loop twice before tightening.
To join the mainline to the smaller tip section, I use a surgeons knot. It is excellent when tying two sections of line together if they are not equal in size.
The level portion of the line from the slip knot to the stopper knot or tippet ring is called the "mainline."
A stopper knot is often used to prevent the tippet from slipping off the mainline or the tip section of a level line.
There are many types of line you can use when configuring a level line.
Nylon lines are typically lighter in mass. Given the same size, nylon will present more surface area when casting and in wind. Nylon has a little more elasticity and generally floats. Clear Nylon has a higher refractive light index but it is still nearly invisible in water.
Fluorocarbon lines are heavier in mass and sink. Smaller lines can be used and presents a smaller surface area when casting and in wind. Fluorocarbon does stretch but has less elasticity and will sink slowly. Clear Fluorocarbon has a refractive light index that is closer to water rendering it close to invisible.
Braided level lines are multi-strand lines made of various materials such as dacron, kevlar and spectra. The properties of this line are all typically heavier, larger in diameter, present more surface area when casting and in wind, soak up water and become heavier, less stealthy and are more visible.
Because the level line is so small, it is easier to see when the line is colored, there are many colors to choose from when configuring a line.
I've used pink, green, orange, yellow and clear. I often fish in lush alpine streams that are low light with green foliage along the stream. A pink line is my preference for ease of seeing the line. I have also read studies that pink is a color that fades out first in water. A pink line is easy to see in low light and after using many colors, it is the color of my choice. Orange also works nicely but it is my second choice. For honryu tenkara, I choose a clear fluorocarbon for the full length of my line due to the rivers I fish are ultra clear and any odd color or color movement will distract the fish from feeding. I do not choose clear for tenkara because much of my fishing is by sight, for honryu, my fishing is primarily by feel.
The design of my level line.
- For the lillian connection I use a slip knot with a .5" tag end with a knot on the end.
- To join the #3.5 to the #3 clear fluorocarbon tip I use a double surgeons knot.
- To add in the tippet ring I use a four turn clinch knot (not improved)
- All knots locked with UV Knot Sense.
I choose fluorocarbon lines for their stealth in casting and handling qualities so I will focus on this material and the qualities of it.
Fluorocarbon level lines come in various colors and different "stiffness." I have used many colors and have found that I like pink, I can see it best against the background of my streams and I think it is the most stealthy of all the bright colors that I have used except *white. I like a relatively soft line that I can stretch and straighten out the coils to leave a line that is nearly straight. For the mainline connection to the lillian on the rod, I use a simple slip knot with a knot end tag to be able to pull and remove from the lillian when I am done fishing.
Depending on the length of the rod that I am fishing, I like a formula of 1.5 - 2m longer than the rod mainline. So once I attach the line to the lillian, if I lay the rod down, and stretch the line back towards the butt end of the handle, 1.5 - 2m of line are past or longer than the rod. At the end of the line, I use a tippet ring, a small metal ring that I tie on to the mainline.
For casting ease and accuracy, I like to use the shortest section of tippet that I can.
This is the primary reason I create a clear tip on my mainline. The smaller diameter tip also serves to transfer energy to the fly much easier for accurate casting and it also loosens up the fly for presentations as well as serving as a depth indicator.
I choose a #3, #3.5 and #4 level mainline for over all usability and I configure them with a clear tip section with 50 - 70cm of #3 fluorocarbon. The stepped down clear tip is terminated with a small tippet ring. The tippet ring is nearly invisible and imparts no detectable handling qualities on the line. It serves to attach the tippet and gives the tippet a uniform place to break if your line is stuck in a tree or on the bottom. The clear tip of the mainline also serves as a depth indicator in that I know if I have a 50cm length of tippet and the pink mainline knot is on the surface, my fly/kebari is 1m deep or away from the mainline knot. I also use that knot as an indicator. For casting, this configuration serves to deliver the greatest energy of the cast carried farther toward the fly/kebari. Using longer and over all lighter tippet lengths does not promote this accuracy, the stepped down clear tip has many attributes and mimics the gentle presentation of a tapered fly fishing leader.
This type of line configuration is durable (lasts many seasons) accurate, handles well, gives the tippet a uniform place to break, serves as a depth indicator and conserves tippet.
I have experimented with many different configurations in designing the tip end of my tenkara line. I have used heavier and lighter gauge fluorocarbon tips. A heavier section will cast nicely but is less stealthy, a lighter section serves to deliver the fly/kebari with less disturbance. I suggest trying heavier and lighter gauge fluorocarbon with longer and shorter tip sections till you find the style that casts and presents to your choosing. Start with a heavier and longer tip section and work your way shorter, then go lighter and long and trim shorter. Go beyond why you like to get a feel for the "sweet spot" in the configuration of your line.
I choose a #3.5 mainline for ease of use in all conditions.
Although I like the way a #2.5 presents a fly/kebari, I do not enjoy the way that it casts, especially at the end of a long day and more than anything, in dealing with the wind. Although a #3.5 seems to be a "heavy" gauge level line, I have found that even with the (rod length +1.5 - 2m mainline) length that I use, the drape of the line is acceptable. In short, I design my lines for "all conditions" instead of carrying additional lines for each situation.
This method has worked for me as I have filtered it through the minimalist system I use described HERE.
In using a level line, there are a couple of other little tips that I would like to weave into this article. I often use the whole line as an indicator. I will look at the drape sag for indications of movement. Whether I am working the fly/kebari or drifting a tight line, I will watch the shape of the curve for any movement that I have not imparted by the rod. I also look at the lillian for movement. Most of the time, when I can not see the fly/kebari, I am looking at the end of the pink mainline, the knot where the pink mainline joins the clear tip. I'm looking for that knot to "go down" to the water or have any movement that I have not placed on the line.
I set the hook by simply lifting the rod.
I hope at a minimum, you are able to compare your own line utility against mine.
Have fun with tenkara and most importantly, practice tenkara your way.
 |
| Level line making from years gone by... |
 |
| Nylon line making |
 |
| My line cards and holder |
 |
| My Line Box that holds all my Line Making supplies, that's my line rigging and rod repair kit. |
 |
| Readying to tie in a tippet ring on the clear tip. |
 |
| Tippet Ring on #3 clear fluorocarbon, locked knot with UV Knot Sense |

I get about 3 seasons (years) out of my level lines. Most of the time, they are still ok when I change them out. They will get a kink or an abrasion, that's what kills them for me. In ten years, I think I've lost one to a death wrap on an overhead limb. Usually, I am breaking off at the tippet ring, losing the fly and tippet, that's it. 3 years is a lot of fishing and fish.
ReplyDeleteGreat article Adam.
ReplyDeleteThank you. It's sort of a story, as much as a "how to." I want to pass on what I've learned, it is so much different than a lot of stuff I have read online. I sometimes get caught up in marketing. I am aware of that now.
DeleteGreat article Adam san. I never really looked at it that way. Honestly I have been a #3.5 pink or orange level line to a tippet ring to a piece of tippet and the fly. I am going to rig out with some flouro line off my mainline. Should be an interesting test. Thank you for all that you have done for the world if tenkara.
ReplyDeleteThank you my friend. I bet you enjoy this type of line. Once made, they last forever if you treat them right. I just retired a line I’ve used for three years. Nothing wrong with it, I simply wanted to ad 10cm more of clear tip.
DeleteThanks, just what I needed. I have been frustrated casting my Nissin air honyru 450. Made a new line with 6 meters of 3.5, added 2 meters of 2.5 + 2 meters of #4 tippet, tied some Jun Kebari on #6 scud hooks and it casts like a dream.
ReplyDeleteGlad to hear it.
Delete