

by Adam Trahan
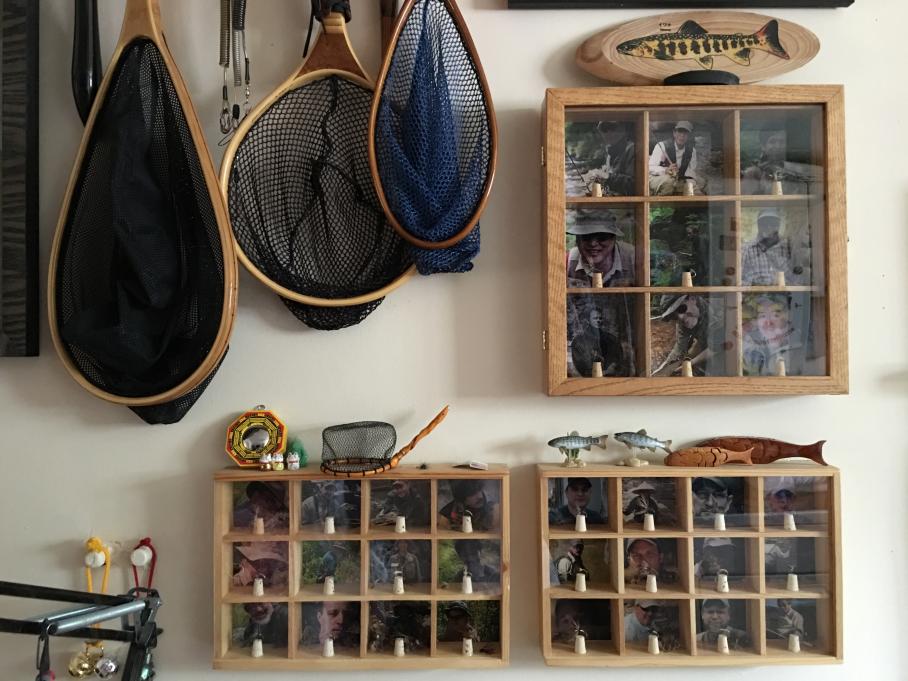
Over the years, I have enlisted the help of many talented tenkara anglers all over Japan (and the globe) to help me develop my interpretation for kebari. I asked these experienced tenkara anglers for examples of the patterns they use to catch fish. I suggested, “Just take a couple that you tied right out of your box, especially if they are used and caught fish. Please send them for my shadow box project.” I wanted to collect a broad variety of angler’s kebari for study and display.
Eiji Yamakawa sent a couple of flies and a packet of Owner bait hooks for tying his pattern. Yamakaw-san’s kebari started my collection. The eyeless bait hooks he sent sat in my tying box as I put the collection together. At the time, I thought the added loop was a hassle, an extra step that I could eliminate because I only knew regular eyed hooks. Little did I know at the time, there was a big reason in choosing this type of hook for my version, my pattern of the wrong fly.
After about 30 or so anglers, I stopped collecting. I had many good examples from the Japanese experts and Americans that were early adopters of tenkara. I found that the Sakasa style kebari was the predominate fly in my collection. There were also a few bait hooks that were used for tenkara flies, but most were from Japan. Of the American tiers, Jason Klass submitted a few. His flies were really nice, aesthetically pleasing, almost too nice. I pulled them out recently and examined them under my lighted magnifier. Wow, they look like kebari that I would make if I were to continue experimenting. Jason’s flies were some of the best versions that I identified with and could see myself using. His competition was stiff, lots of Japanese experts in the project. John Geer had a few beautiful loop eyes as well. I fired off a quick message to compliment Jason on his kebari. They had been in my collection for a couple of years, yet I did not have the experience and drive at that time to actually try tying and or using them. My timing must have been good; Jason asked me if I would contribute to his new e-zine on tying Tenkara kebari. I accepted and what you see here is the result of our conversation.
The below statement is the gist of my fly choices.
I would rather have the wrong fly in the right place than the right fly in the wrong place.
Think about it; knowing where to put the fly is more important than the fly itself.
That’s the importance I place on casting and presentation. This is the core practice of my tenkara fishing and fly tying. The story here is mine, how I interpret tenkara, and the method that I use. I have learned quite a bit from my research into Japanese style Tenkara, practicing it coming from a long history of fly fishing small streams.
In addition to collecting kebari, I interview quite a few tenkara (Japanese) Anglers and share those Interviews at my own web site. This year I will return to Japan where I will spend some time in the mountains Keiryu fishing with a few experienced genryu anglers. I try to surround myself with people that are much more experienced at it than I am and feel that I’ve done a pretty good job, so far.
Anyway, let’s get down to my fly choice and why I use the wrong fly quote above to illustrate my methods.
Imagine the following scenario; you cast accurately and place a mayfly pattern exactly in the drift zone of a small stream and entice a cutthroat to strike! Later you find caddis flies in their stomach as you prepare the fish for shioyaki. Your friends were casting perfect caddis flies but their casts were in the grass, in the trees, in the wrong area of the water. Their exact imitations were drifting in the wrong places where there were no fish. It didn’t matter what patterns they used, even in the exact sizes and colors, the ones that matched the hatch. Their flies were not where the fish were but your wrong fly was and you caught a fish.
If you can’t cast and present to where the fish are, it doesn’t matter what fly you choose.
Accurate casting is more important than your choice of fly.
I want to drive my point home that the fly is not as important as accurate casting.
The skill in tenkara, using the rod, line and fly is how we catch so many fish. What I have found from experience is that your cast and presentation is more important than having the right fly. Hey, if you can offer the right fly in the right place, great! Do it! It works, yet the common denominator in catching fish, no matter what fly you choose, is knowing where the fish are and casting flys to the right place. You have to put the fly in the right place, period. If the fish can’t see it, you won’t be catching them. It doesn’t matter what pattern you use. If there are fish, and the wrong fly in the right place, you have a chance to catch. If there are no fish and the right fly, you can’t make a fish strike where there are no fish.

I’ve written an article generated from my enthusiasm interpreting a book by Gentatsu Kuwahara. Fishing Library - How to enjoy Kebari fishing Beginner's guide to Yamame/Iwana Tenkara Fishing This is one of my favorite books on tenkara and it’s the favorite of many old talented tenkara anglers in Japan; they have used it as a resources for their own fishing. The book and my article details dry casting to a small cup or can on a 50 cm target circle. The circle target I use is made of Masonite so that I can hear the fly hit (tick) the circle. My target cup is a tuna can that I made sandwiches from years ago. The article details that you should be able to hit the 50 cm circle 10% percent of the time in the beginning. When you can land half of your casts in the tuna can, you are still in the beginner stage. I am still in the beginner stage after years of practice but I’m getting better….

I’ve been practicing only tenkara since 2009. Nothing else after so many years of focusing on ultra light fly fishing in small streams. I learned the basics on my own after getting a rod from Daniel Galhardo. I followed along Daniel’s introduction and his subsequent information stream while I researched tenkara. My friends in Japan helped me buy all the old research materials, books, and magazines on the subject. They translated and helped me understand Tenkara from it’s early beginnings. They described their version of tenkara as well; we developed this in our Interviews.
After a couple of years, I used an Ishigaki pattern (one fly) for the early season before going to Japan in the summer. Using this one pattern with a couple of different sizes and weights of hook, I was able to catch brook, brown, apache and rainbow trout here in Arizona and then Amago, Yamame and Iwana in Japan. Minimal pattern choices in Tenkara work very well if you know where to cast and how to entice the target species into striking.
In my view, tenkara is from Japan; it is Japanese style fly fishing in small streams. I’m not trying to re-invent or put my own spin on it, I’m just trying to improve my skills. It’s magical enough on its own without me trying to change it into something else. As I understand tenkara, it’s roots are utilitarian for catching fish to bring them to market. The tenkara equipment of today is far more performance minded than the equipment from its inception, yet the system of tenkara has changed very little. Rod, line and fly. In comparison to today’s fishing,”What worked then will work now.” Really little has changed about the method if you look at it’s basic components.
Carbon Fiber, the material of modern rods was improved in Japan and the telescoping (nesting) configuration has been around for decades. Bait fishing and Ayu rods are similar in construction to tenkara rods. As a matter of fact, many bait fishing rods work very well when used with tenkara lines and techniques. Nissin, Daiwa and Shimano are a large portion in developing the larger telescoping rod market in Ayu (sweetfish) and bait market. These companies have shared the technology with the tenkara, a very small portion of market and their inventory. Bait fishing is huge in Japan and the hooks designed for the composite bait fishing rods have evolved and developed over the years to excellent shapes and materials for fixed line stream fishing; this type of hook has been specifically designed for this type of rod and the fish they target.
It is with this knowledge and Yamakawa-san’s gift that I decided to use bait fishing hooks as my own choice in my version of “One” go to tenkara kebari pattern. I use the specialized hooks made for telescoping rods. I’m not adapting a hook, I’m choosing it out of specialty. It’s what they are made for, long telescoping rods for fish in streams.

The bait hook I choose is thin and made of fine wire that is slightly flexible. The point is extremely sharp to aid in penetration. The shape is slightly curved to the side, as in the hook does not lay flat. The Owner hook that I use is called the “Super Yamame” and has a micro barb which I like.
The barb is sized to hold the bait onto the hook, very small. You can barely see it and the hook actually looks barbless, the barb is that small. When the hook is in a fish’s mouth, it is relatively easy to remove without a tool and generally catches the trout in the corner of their mouth. Although this type of eyeless hook is made for tying the fishing line directly to the shaft of the hook, the fine silk bead cord loop that is added remains flexible and may catch on the fine teeth of the trout, slowing down the hook withdrawal or the rejection (spit out) by the trout giving the hook point more time to set. In an area of catch and release with mandated barbless hooks, it is easy to mash down the micro barb with a needle driver or hemostat. I leave the barb if there are no barb restrictions, it seems to improve the fish count and caught fish are still easy to remove by hand or needle driver.
The bead cord that I use is made of silk. Silk is a super strong material that does not stretch and keeps its performance when wet. I use a short length loop to attach to the hook with black silk suture or UNI brand thread. Using a few whips of thread to lock down the silk cord on the hook takes just a couple of minute’s time. Yes, it is an extra step. No, you don’t have to choose this hook, but I do. It is a hook designed for fixed line fishing on long flexible rods. It’s the hook I want and the larger eye of the bead cord makes threading the eye easier with my ever worsening, aging eyes. The silk of the bead cord and the construction of the loop never fails; it only has to be stronger than the tippet. I believe the material and action of the silk loop on the fine teeth of trout slows down rejection and is attributable for a small portion of fish that I catch. The shape of the hook, the fine wire, the long tapered hook point, its flexibility, and the silk bead cord loop are all attributes of this type of specially designed hook made for telescoping rods.
I tie my pattern with just a few materials. I use a couple of different threads, UNI and a black silk suture that I’ve had for many years. For tying on the silk bead cord, I use BLACK UNI 6/0 and I keep that loaded on a favorite bobbin. I use this to tye in my hackle too. I typically tie a dozen loop eyes on hooks first, then I choose the color of pattern that I want to use and tie up batches of six or a dozen.

The recipe for the Wrong Fly.
- Owner “Super Yamame” hook
- Griffin #2 Silk Bead Cord
- UNI 6/0 thread in Red and Black.
- India Hen saddle hackle Brown or speckled.
Tying Notes: With loop eye kebari, I tie in all my loops first so that I am doing repetitive quality control. I have not had one single loop eye come undone or break to date on any fish, up to 18”.
1. Load the hook in the vise. Tie in BLACK (or RED, does not matter) UNI thread a couple of millimeters behind the flared end of the hook, at least 5 or six wraps. Snip loose end and let bobbin hang.
2. Take a length of black silk bead cord and hold a loop on top of the hook. Wrap it on snug, keeping the loop on top of the hook and work thread all the way to the flared hook end and back. Keep the wrap two layers deep and level, keeping bead cord on top of hook, all the way up to the flare tight but not on the flare. Important note, keep the wrapped down end of loop short; do not wrap past where you will be tying in hackle. The loop wrap down is only the length of the head of fly. Whip finish loop wrap, snip bead cord loose ends and glue whip finish.
3. Take the Matterelli whip finisher and hook the loop with it and give it a gentle pull. This is the loop stress test. Remember, it only has to be stronger than the tippet strength you are using.
4. Take RED UNI thread and build up the head, steep side toward where you will place the hackle, tapered towards the loop. Keep thread behind the hook flare but cover all the loop binding wraps. Whip finish and glue
5. Tye in BLACK UNI thread at hook bend, (slightly before where you will stop with thread body) and stop 1 mm behind thread head. Let bobbin hang.
6. Prepare India Hen Back (brown or speckled) hackle; strip off downy filaments and pinch front of feather and “pull back” on feather from the pinch making filaments separate and flow slightly backward toward thick quill end. Tie in tip of feather with the curve up and wrap behind feather tie in 1 mm. Load feather quill with hackle plier and wrap 4 or five times away from you, taking filaments and forming them forward with your free hand fingers. Tie down feather and cut off quill.
7. Continue to wrap thread, building a tapered thread body. Build up thread behind feather to pinch in between the thread body and thread head. Whip finish and glue.
I believe hackle stiffness and number of wraps corresponds to the sink rate of the kebari and should be matched to rod stiffness and rate of retrieve, or action (sasoi) that you impart on your fly. If you are ripping the fly through the water, use stiffer hackle. If using presentations that are soft and gentle with lots of dead drifting, use softer hackle.
I’ll take this pattern with me to Japan this fall and see what I can do with it. I am sure the pattern and I will have fun challenging ourselves with minimal equipment and maximal fun.
Remember, your casting skill is more important than the fly you choose.
Realize that small stream trout are opportunistic when feeding. There is typically a competition for the limited food sources. Brook trout in streams are particularly aggressive and will take nearly any fly that is in their feeding “zone.” Imagine insects and grasshoppers near the edges of the stream getting blown into the stream, day after day; this is where to cast. Imagine undercut banks where the flow has worn away at the earth; trout will hold in these areas. Streams typically have the same features through out their length. When you catch fish from certain features in one area of a stream, more than likely you will catch fish from similar features in other areas of the same stream.
As you can see, I place more emphasis on how to cast than I do on the fly. For me, I start with a hook designed for the type of rod that I use. I choose a silk loop tied on the hook because I believe it ads to the catch rate by giving the hook extra resistance as it is pulled and helps flips the point into a position to penetrate. The loop eye is also easier to thread. I use simple thread in a silhouette color (black) and red for a focal point. The hackle I use is soft and responds to the speed that I present my fly. The soft hackle does not provide additional resistance to the fishes mouth and it “flows” with the slow speed that I manipulate it with. I choose a soft hackle and tie it in sparsely so that my fly sinks a little faster, but still naturally, and has less resistance in the water and film, and less surface area that could prevent it’s being taken by the trout’s mouth.
Think about all parts of your tenkara system and how they impart action to the fly. Match the hackle to the movement of your rod and line system. Make your fly have a buggy appearance even if it is presented in crystal clear dead still water with it’s size and softness of hackle. Match the movement you impart on the kebari with your hackle stiffness. Place the kebari exactly in the feeding zone with your cast.
Practice casting, it is far more important than the fly you choose.
Enjoy developing your wrong fly.
Thanks to Jason Klass for asking me to share this with you.